Echoes in the Mountain is a time-limited roguelike game mode (hereon referred to as “rogue”) introduced in patch 1.6 of Reverse 1999. It later underwent major changes to become a permanent game mode in the anniversary patch 1.9. In this guide I will explain the basic mechanics and touch on certain important aspects you should know to optimize your run during the temporary patch 1.6 rogue.
DIFFICULTY CONFIGURATIONS
There are a total of 5 difficulty settings for rogue. You can only unlock a difficulty once you have completed the previous difficulty. As the difficulty rises, the number of units you can bring into a run will lower, the enemies will become stronger, and you will suffer from different negative effects.
|
difficulty |
debuff |
additional rule |
starting units |
score |
|
Normal Route |
N/A |
Enemies gain 5% dmg bonus every turn after the 5th turn |
8 |
+20% |
|
Hard Route |
Healing done & leech rate -20% |
[Obsession]+5 when entering Present Danger |
7 |
+35% |
|
Risky Route I |
Healing done & leech rate -30% |
[Obsession]+3 when entering Minor Obstacle |
7 |
+45% |
|
Risky Route II |
Healing done & leech rate -40% |
[Obsession]+30 when starting a run |
6 |
+50% |
|
Risky Route III |
Healing done & leech rate -50% |
[Obsession]+5 when current turn count reaches 5 |
6 |
+55% |
As you may have noticed, the bonus score for higher difficulties isn’t that much higher than the lower difficulties. To get all achievements, you will need to complete at least the 4th difficulty. I would recommend you replay the lower difficulties once you get that done because it requires less concentration and malding.
TEAM ARRANGEMENTS
All stages in rogue are 4-unit. However, you can bring more than 4 units into a run. Units’ hp will carry over between stages. For each stage, you will be allowed 3 attempts, after which losing will end the run. The strength of your units is limited by the lineup slots in the deployment stage. The 4 slots each have a Willpower, which confines the strength of the unit you put in that slot within a certain limit. You can swap units in and out freely. If you unit’s levels are higher than the limit of the slot, they will be lowered to fit the limit. If they’re lower, they’ll remain the same except on the lowest difficulty, in which case they will be raised to meet the limit. Upgrading a slot requires Comradery, which you can acquire by winning fights and completing certain events.
|
Willpower |
≤4 stars |
5 stars |
6 stars |
resonance |
psychube |
Comradery |
|
|
|
|
|
lv.4 |
lv.20 |
0 |
|
|
|
|
|
lv.6 |
lv.30 |
10 |
|
|
|
|
|
lv.8 |
lv.40 |
30 |
|
|
|
|
|
lv.12 |
lv.50 |
60 |
|
|
|
|
|
lv.15 |
lv.60 |
60 |
As is shown in the chart, at low Willpower, lower star units have advantage over higher star units, while higher star units have higher cap at high Willpower. This means that it would be best to bring both high and low star units into a run and switch them once you have upgraded the slots. You will only be granted an opportunity to level up these once you finish a boss encounter or when you choose to buy one at a Strange Stall.
STAGE MECHANICS
There is one unique mechanic introduced for and only for rogue. During your run, you have to constantly manage your Obsession, which you normally start with 90. Your choices during a run will affect its value, and in turn, it will affect your team.
|
Obsession |
effect |
|
0~29 |
AP -1 (min 1), dmg taken -50% |
|
30~59 |
AP -1 (min 1), dmg taken -25% |
|
60~119 |
N/A |
|
120~149 |
AP +1, dmg taken +25% |
|
150~179 |
AP +1, dmg taken +50%, 10% chance at each turn start to gain additional dmg taken +25% for the turn |
|
180+ |
AP +2, dmg taken +100%, 10% chance at each turn start to gain additional dmg taken +50% and become unable to act for the turn |
After playtesting, it is agreed upon that maintaining your Obsession at 120~149 is the most efficient overall.
ENCOUNTER NODES
A rogue run consists of 3 areas, with different encounter nodes you can choose from. There are 8/9/10 nodes in each area respectively. There are a total of 8 different types of nodes. The node types in the first two areas are mostly fixed, while in the last area it’s mostly random.
|
encounter node |
icon |
explanation |
|
Discovery |
|
Encounter a random event |
|
Rest Site |
|
Heal units, recruit a new unit or recover a lost unit |
|
Path Unknown |
|
Randomly chosen from all possible encounters Upon entry in area 1/2/3, Obsession -10/-15/-20 |
|
Strange Stall |
|
A shop where you can purchase Artefacts, pay to recruit or recover a unit, or an extra chance to upgrade a lineup slot |
|
Treasure Hunt |
|
Gain some random rewards |
|
Minor Obstacle |
|
An easy combat Obsession +2 upon entry |
|
Present Danger |
|
A difficult combat Obsession +5 upon entry |
|
Impending Crisis |
|
Area boss |
There are two possible endings to this rogue. The normal ending you could easily get by completing any difficulty normally. The hidden ending is triggered as follows:
Area 1, node 5: Select Discovery, acquire a certain Artefact.
Area 2, node 6: Select Discovery, sneak inside, then head for the basement. Acquire a certain Artefact.
Complete the run.
Artefacts
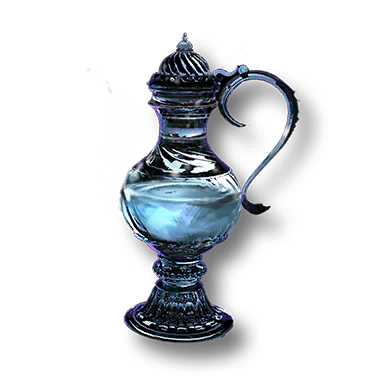
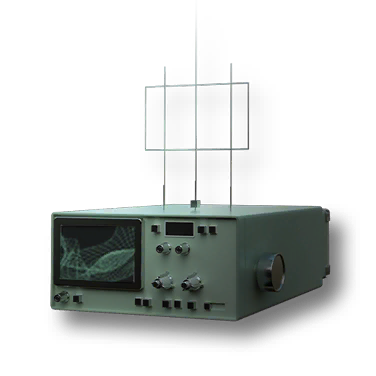
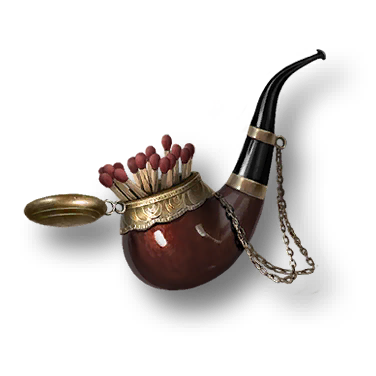
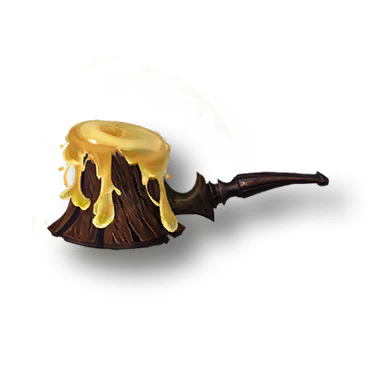
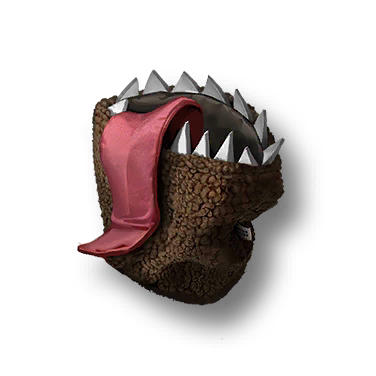
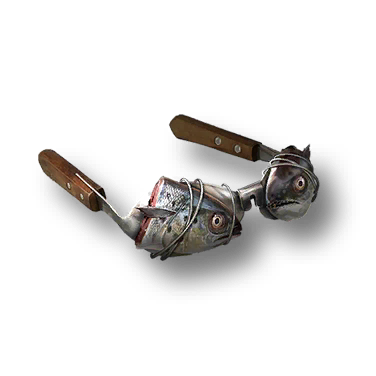
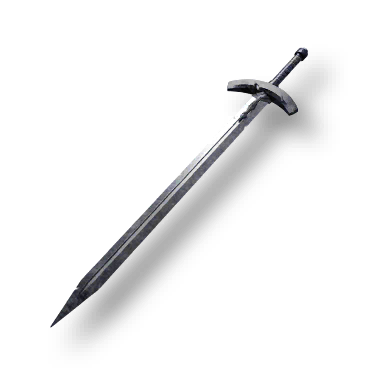
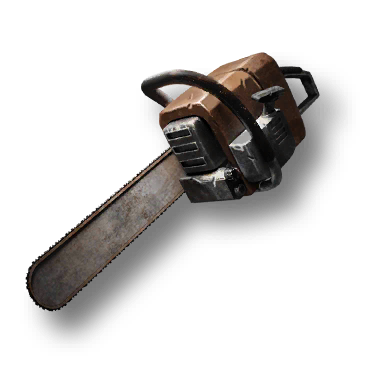
These are the random items you can acquire from either events or shops to help you in your run. Goldfinch Coins obtained from encounters is the currency used for shop purchase. There are three types of Artefacts. Ordinary Artefacts which you can have unlimited amounts of; Unique Artefacts that you can only possess one of each; and Unique+ Artefacts which is only dropped by bosses. Some of them are important and serve as basepoints for building a strategy for your run, while others might only be minor buffs. Furthermore, some of the Artefacts can be enchanted, which is to say, combined with one or more of the seven basic Ritual Disks. Enchanting is reversable and may drastically change the effects of an Artefact. With this in mind, you should balance out the number of Ritual Disks and other Artefacts so that you can enchant as needed.
For the twelve Unique+ Artefacts, I will introduce each of them and their strength, as you normally only get 2-3 of them during a run and you should try to make the most of them.
|
image |
effects |
comments |
|
|
Gain extra skills after defeating an enemy. |
Rubbish. |
|
|
Deal more damage when a unit has [bullet] or performs extra actions. |
Decent when you have Artefacts that grant [bullet]. |
|
|
Units gain [bullet] at turn start and after defeating an enemy with ultimate. |
Decent when you have Artefacts that consume [bullet]. |
|
|
Units gain [dynamo] after defeating an enemy. Consume [dynamo] to deal genesis dmg to all enemies each turn start. |
Decent when you have Artefacts that grant [bullet] or if you are going for the hidden ending. |
|
|
Decrease max hp and dmg taken. Gain immunity against [corrosion] [poison] [burn] [pollution]. |
A good survivability boost. Not really needed if you play on lower difficulties. |
|
|
For each Ritual Disk owned, increase incantation might and ultimate might. Can also be enchanted. |
The one and only most broken Artefact in this rogue. Must pick if you ever have the chance. Focus on getting Ritual Disks afterwards. |
|
|
Gain [dynamo] every turn. Decrease dmg taken for each stack of [dynamo]. |
Decent when you have Artefacts that consumes [dynamo] or if you are going for the hidden ending. |
|
|
Get an additional Ritual Floppy Disk when encountering Present Danger. |
Only consider picking this if it’s among the first area boss rewards. |
|
|
Moxie limit +2, [eureka] limit +1. Grant [eureka] and inflict [burn] to all every turn. |
A good moxie & [eureka] bank. Now you don’t have to worry about overflow. |
|
|
Deck limit +2. A random skill turns into preparation skill each turn. |
The only Unique+ Artefact that isn’t dropped by a boss. Obtained by selecting Discovery in area 2, node 6. And winning subsequent fights. No RNG involved. |
|
|
AP +1. Cannot gain Goldfinch Coins from combat encounters. |
Good buff with significant negative effects. Only consider picking this if it’s among the second area boss rewards. |
|
|
AP +1 when encountering Present Danger and Impending Crisis. |
A general good pick. |
For Unique Artefacts, allow me to direct your attention to some of the stronger ones that are high priority picks. The rest of them don’t have a big enough impact on your team.
|
image |
effects |
comments |
|
|
For each Ritual Floppy Disk owned, increase ultimate might. Can also be enchanted to focus on one type of Ritual Floppy Disk. |
Strong ultimate boost. |
|
|
Consume [dynamo] to gain offensive buffs depending on its enchantment. |
Obsurdly strong when enchanted. Once you acquire it, making sure you have enough [dynamo] generation becomes top priority. |
|
|
For each Ritual Floppy Disk owned, gain [dynamo]. Can also be enchanted to focus on one type of Ritual Disk. |
Highly recommended if you have any Artefact that consumes [dynamo]. Also a top pick if you are going for the hidden ending. |
|
|
Each turn, the 1st unit loses buffs while the 4th unit gains buffs. Can be enchanted to specify the buff type. |
Considering that you can’t really max out all the lineup slots, this Artefact is a strong boost to your team’s effectiveness, provided that you’ve been focusing on the 4th lineup slot. |
|
|
For each Unique+ Artefact owned, increase atk, hp, def. Can also be enchanted to count Ritual Disks instead. |
All-round boost that’s just generally good to have. |
Finally, I will leave it to you, the readers, to figure out the rest of the Ordinary Artefacts.
COMBAT STRATEGIES
Teambuilding: As mentioned earlier, Low star units perform better in earlier stages of the rogue and high star units perform better in later stages. As such, you should bring a roster of majorly high star units but with a few low star units to use in the first area. Also, if you are going to challenge higher difficulties, shielders are preferred over healers due to the decreased healing done. Another thing worth noting is that many of the enemies have defensive buffs that expire with attacks taken, so units with follow-up attacks would be favored. Recommended units: Jiu Niangzi, 37, Ezra Theodore, Druvis III, Yenisei, Bkornblume, Charlie, Eagle, Pavia, Ms. Mossian. Other useful choices: Ms. NewBabel, Spathodea, Jessica, Centurion, Tennant.
Planning: The total Comradery of a run will approximately be enough for you to level 3 slots to purple level and one to gold level, keep that in mind as you plan your encounters. In the first area, you should focus on combat encounters that will grant you Comradery which will enable you to level up more after the first boss encounter. Choose Discovery if no combat node is available. Then one node before the boss, enter a Strange Stall to buy some Artefacts. In the second area, You can choose to skip some of the easier Minor Obstacle to opt for Discovery or Path Unknown to either try and get better rewards or decrease Obsession, provided that you have enough Comradery to level up lineup slots as planned. As before, enter a Strange Stall to buy some Artefacts before challenging the area 2 boss, which is considered to potentially be the hardest of the entire run. In the third area, Comradery is less important due to the lack of upgrade chances, and you enter combat nodes mostly for Goldfinch Coins to buy more Artefacts before the last boss. If you do get enough Comradery though, you could consider buying an upgrade chance to level up more. Discovery or Path Unknown are also good choices here for aforementioned reasons.
Combat: All rogue combat encounters have a turn limit of 99 turns. Combine this with the higher-than-average AP count, the chances of you running short of AP is small, and thus you can take things slow and focus on survival. As hp carries over for units, you should try and make sure all units are at healthy hp levels. Utilize control to lessen pressure further as most enemies aren’t control immune. It’s recommended that you put your carry in the 4th slot and sustain in the 1st slot, and level them up in that order for optimal performance.
SCORE REWARDS
Upon full completion of a run, you can acquire 1080/1215/1305/1350/1395 sentiment for each of the 5 difficulties which is used for accumulative reward exchange. Additionally, each week your sentiment gained will double until you reach a total of 3000 extra per week. To gain all rogue rewards, you will need a total of 25000 sentiment. As rogue is open for challenge for a total of 4 weeks, my suggestion is that you do 3 runs of the lowest difficulty every week for the first 3 weeks, then do the next 3 difficulties on the last week, which will grant you an achievement. Rewards include insight and resonance materials, a gluttony, and a unique profile picture.





 lv.20
lv.20 lv.40
lv.40

 lv.15
lv.15


